Drone Video Editing Tips for Cinematic Footage
In This Article
- Capture slow, steady aerial movements to ease the editing process.
- Select editing software with robust features like colour grading and stabilisation.
- Use LUTs and presets for consistency in tone and style.
- Incorporate music and sound effects to convey emotion and depth.
- Edit with narrative flow to retain viewer engagement throughout.
- Render exports in high quality to preserve cinematic output.
- Understand legal restrictions when using drone footage commercially.
- Continue learning and experimenting to evolve your visual storytelling.
Understanding Cinematic Style in Drone Footage
What Makes a Shot Cinematic?
The key to achieving a cinematic aesthetic in drone video editing lies in the fusion of movement, composition, tone, and emotion. A cinematic shot typically utilises smooth camera motion, intentional framing, balanced exposure, and colour-graded consistency to convey a mood or narrative. With drone footage, the aerial perspective adds grandeur and scale that, when properly edited, transforms a basic visual into something mesmerising.

Drone video editing must focus on more than just what you capture—it’s about how the footage is manipulated in post-production. The cinematic essence emerges during the editing phase when cuts are made to match musical cues, slow-motion is applied to amplify atmosphere, and transitions guide the viewer through space and story. This process is as artistic as it is technical, and understanding the qualities that define cinematic shots is the very first step.
Shooting Techniques for Better Editing
Slow & Steady Movements
Before even opening your editing software, it’s essential to shoot with drone video editing in mind. One golden rule for cinematic drone footage is slow and steady camera movement. Gentle pans, gradual rises, and carefully tracked lateral motions produce a visual smoothness that’s far easier to work with during post-production. Sudden jerks, sporadic shifts, or wobbly framing add complexity that often can’t be fully corrected later.
Utilising tripod mode or manually adjusting your gimbal sensitivity allows for deliberate and consistent movement. When manoeuvres are carried out slowly, scenes become more ambient and immersive, lending themselves well to refined transitions during the editing process. This simple shift in methodology makes a significant difference when the time comes to begin drone video editing.
Choosing the Right Editing Software
Best Picks for Professional Edits
Selecting the right software is pivotal for efficient drone video editing. Professional editors generally lean towards programs like Adobe Premiere Pro, DaVinci Resolve, or Final Cut Pro. These platforms provide a suite of tools that support colour grading, layer blending, keyframe motion adjustments, and audio synchronisation—all of which are necessary to maximise cinematic quality.
DaVinci Resolve is especially renowned for its colour grading capabilities. It’s often the top choice for achieving rich tones and contrast. Premiere Pro, by contrast, offers unrivalled flexibility with plugins and its integration with After Effects for compositing. Meanwhile, Final Cut Pro boasts excellent optimisation for Mac users, delivering real-time performance and intuitive timelines. For beginners, software like Filmora or iMovie can provide a more accessible starting point while still offering the basics of drone video editing. Whichever tool you choose, ensure it supports high-resolution formats, LUTs, and stabilisation tools.
Mastering Color Grading
From LOG Footage to Vibrant Cinematics
Colour grading is the magic wand that breathes cinematic life into raw drone footage. Most professional drones offer the ability to shoot in LOG format—a flat colour profile that preserves dynamic range. While LOG footage can appear washed out initially, it offers tremendous flexibility in post and is ideal for drone video editing at a cinematic level.
During the colour grading process, you’ll enhance contrast, adjust warmth or coolness, balance highlights and shadows, and apply stylised LUTs (Look-Up Tables). The goal is not just to correct colour but to establish a consistent mood. For instance, a golden-hued palette can evoke nostalgia, whereas cooler tones give a dramatic or mysterious effect. Experienced editors often use layer masks to adjust colours selectively—only brightening the sky or deepening the shadows in the foreground, for example. This selective enhancement helps prevent a flat look and adds visual depth that draws the viewer in.
Stabilization in Post-Production
How to Fix Shaky Drone Footage Smoothly
Even the most expertly flown drone can produce minor shakiness, especially in windy conditions. Drone video editing requires precision and clarity, so stabilisation during post-production becomes paramount. Most editing software, including Premiere Pro and DaVinci Resolve, offers built-in warp stabilisation algorithms that analyse and correct footage automatically.
However, relying solely on automation can occasionally create strange artefacts or unwanted cropping. It’s best to preview your footage first and apply stabilisation only where needed. Additionally, minor manual adjustments—such as reducing rotation or scale jitter—can further refine the smoothness. If you’re working with 4K footage but delivering in 1080p, you’ve got leeway to crop slightly during stabilisation without compromising quality. This is a great strategy to preserve visual fidelity and maintain a professional finish.
Sound and Music for Storytelling Emotion
Utilising Audio for Cinematic Impact
No cinematic experience is complete without compelling audio. In drone video editing, the addition of a powerful soundtrack often dictates the emotional tone of your footage. Whether you’re scoring a tranquil mountain panorama or a high-energy cityscape, synchronising music to movement can completely alter the viewer’s perception.
Choose tracks that align with your narrative intent. Slow stretches deserve ambient compositions, while action-packed sequences benefit from rhythmic and percussive themes. Beyond music, consider sound effects. The rush of wind, distant echoes, or subtle footsteps can enhance realism and deepen immersion. Tools like Adobe Audition and Logic Pro offer audio mixing environments that help fine-tune sound levels, reduce noise, and add reverberation professionally. Don’t underestimate sound—it’s half the cinematic experience and absolutely critical in drone video editing workflows.
Using LUTs and Presets
Creating Consistency and Tone
Consistency is a visual signature, and LUTs (Look-Up Tables) are essential for achieving it in drone video editing. LUTs act like colour template files, transforming your LOG or flat footage into a defined palette with a single click. They’re especially useful when combining clips shot at different times or lighting conditions, ensuring tonal uniformity across the timeline.
While there are countless free and premium LUTs available, many editors build their own to match the specific aesthetic of each project. Custom LUTs allow for unparalleled control over warmth, saturation, shadow depth, and more. Applying presets also speeds up workflow during batch editing, freeing up time to focus on narrative structure or transitions. However, LUTs should always be fine-tuned post-application; blind reliance can lead to over-saturated or unrealistic imagery. A balanced approach guarantees cinematic finesse and visual harmony in your final product.
Editing for Narrative Flow
Crafting an Emotional Journey
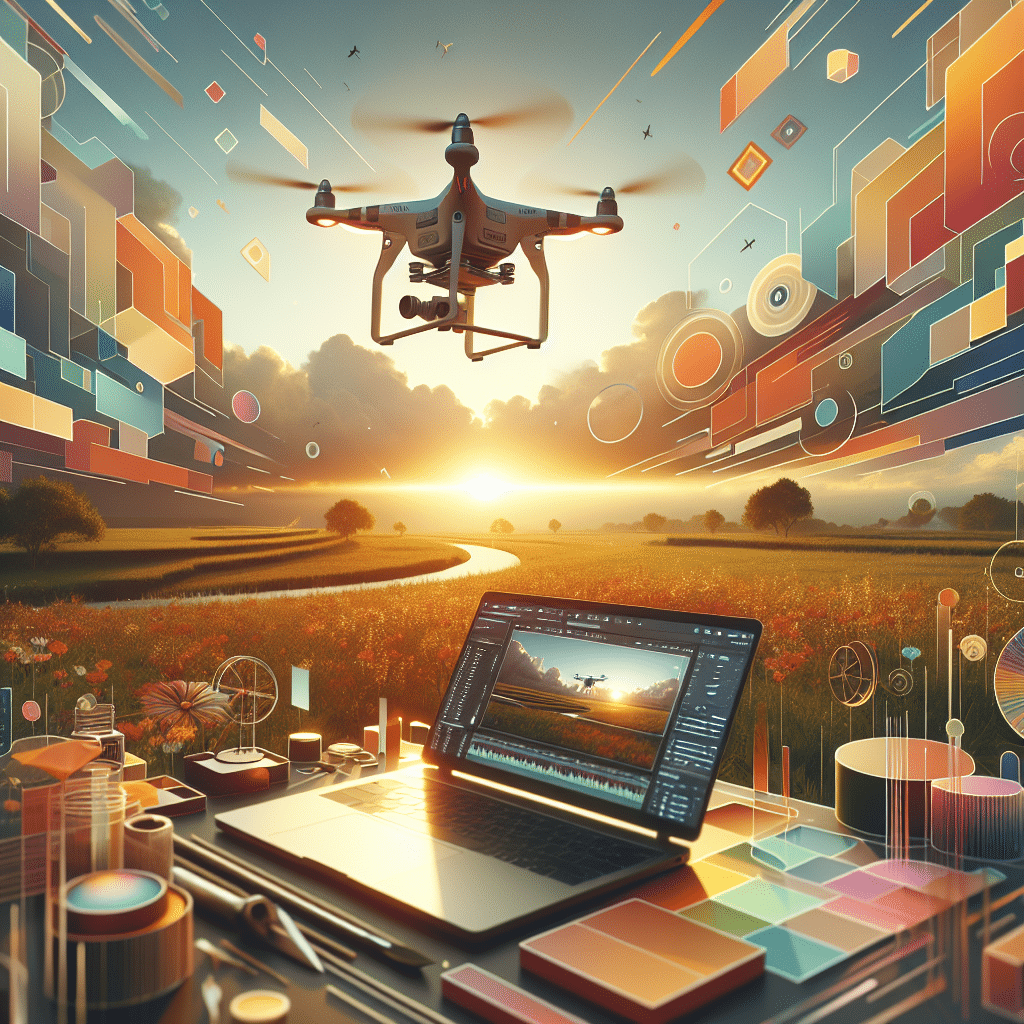
At the heart of every memorable video lies a compelling story. Drone video editing must go beyond aesthetic polish; it needs to guide viewers through an emotional arc. Whether you’re creating a promotional video, travel montage, or abstract art piece, storytelling should dictate every edit you make.
Begin with an establishing shot to set the scene, build tension with aerial tracking, and climax with a majestic reveal or sweeping finale. Strategic use of fade-ins, slow dissolves, or matched cuts can contribute to pacing and mood. Timing transitions to music beats enhances rhythmic flow, and alternating between wide and close-up angles maintains engagement. Don’t be afraid to trim ruthlessly—every frame should serve the narrative. This attention to flow makes the difference between raw visual documentation and emotionally resonant cinema. Learn more about Drone Filmmaking & Creative Post-Production
Export Settings That Preserve Quality
Maximizing Output Accuracy
After hours of meticulous drone video editing, it’s crucial not to squander your results with inadequate export settings. Always render your final video in the highest possible resolution consistent with your source footage. For 4K drone content, this typically means using the H.264 codec with a high bitrate (35-50 Mbps for YouTube or Vimeo).
Maintain the original frame rate—commonly 24fps or 30fps—to preserve motion clarity. Consider enabling render optimisation options such as maximum depth and use of previews. Naming conventions, such as including location, date, and clip type, also help with long-term file management. When viewed on HDR or 4K screens, the qualitative difference that proper export settings make is unmistakable. Always preview on multiple devices before sharing or publishing.Key techniques for cinematic drone videography
Legal Tips for Selling Footage
Understanding Commercial Drone Guidelines
If you intend to monetise your drone footage, understanding the legal landscape is non-negotiable. Commercial drone operations in the UK must comply with the Civil Aviation Authority (CAA) regulations. This includes registering your drone, passing the Flyer ID test, and obtaining any necessary operational authorisations.
Additionally, you must secure proper permissions when flying over private property or populated areas. Clients purchasing footage will often require proof of compliance, including documentation of your drone’s flight log and licensing credentials. Intellectual property laws also come into play. Landmarks, people, and artwork captured within your footage may require model or property releases. Licensing platforms like Shutterstock and Adobe Stock have specific rules and quality requirements that must be met in your drone video editing process. Read a related article
“Editing drone footage isn’t just technical—it’s where imagination reshapes the horizon.”
Conclusion: Edit Like a Cinematic Pro
Drone video editing is both a science and an art. From capturing steady aerial shots to applying advanced colour grading and sound design, every stage plays a crucial role in achieving cinematic polish. By understanding style, selecting the right tools, maximising your export settings, and ensuring legal compliance, you position yourself as a professional capable of delivering world-class results.
Whether you’re creating visual content for clients or building your personal brand, the expertise you develop through drone video editing will determine how engaging your projects ultimately become. Keep refining your skills, stay current with evolving software trends, and always aim to tell a compelling story through the sky’s canvas.
Great guide on drone-video-editing-tips-to-maximise-cinematic-quality – Community Feedback
How to make drone footage look cinematic?
To achieve a cinematic look with drone footage, use slow, smooth movements, shoot in higher resolutions, apply professional color grading, stabilize your shots in post-production, and build a visual story with your edits.
How to get high quality drone footage?
Shoot at the highest resolution available, keep drone movements slow to reduce compression, use optimal lighting conditions, and perform post-production enhancements like color grading and noise reduction for crisp, high-quality footage.
Is it illegal to sell drone footage?
You can sell drone footage legally once you have a commercial drone license, such as the FAA’s Part 107 in the US. Ensure you comply with all local drone operation and licensing regulations.
How to color grade DJI drone footage like a pro?
Convert your video from LOG to REC.709 color space, use an S-curve for contrast, tweak highlights and shadows, and adjust hues for vibrant, cinematic colors. Consider using LUTs for consistency.

