Drone Compass Calibration Basics: Step-by-Step …
In This Article
- Always calibrate your drone’s compass after long-distance travel or firmware updates.
- Use open outdoor spaces free from metal and electromagnetic interference for best results.
- Follow each step methodically—don’t skip the rotations even if they seem repetitive.
- Observe on-screen prompts closely; they vary between brands like DJI, Skydio, and Parrot.
- Perform post-calibration hover tests before committing to a full flight.
Why Compass Calibration Is Essential
What Happens If You Skip It?
Drone Compass Calibration Basics is the cornerstone of safe and accurate drone navigation. A drone’s compass feeds essential orientation data to the flight controller, keeping it correctly aligned with GPS coordinates and Earth’s magnetic field. If calibration is neglected, your drone might exhibit erratic behaviour such as uncontrolled drifting, “toilet bowl” flying (where the drone circles aimlessly), or complete loss of directional accuracy.
Understanding Drone Compass Calibration: A Beginner’s Guide
Improper calibration can result in miscommunication between sensors, leading to serious safety risks. For example, in GPS-assisted or return-to-home modes, the drone may miscalculate its path, potentially causing crashes or flyaways. Beginners especially might experience panic flying, where they react to the drone instead of confidently controlling it.
By mastering Drone Compass Calibration Basics, you not only ensure accurate positioning but also dramatically increase your drone’s reliability. It is an essential habit that transforms your drone from unpredictable gadget to dependable aerial companion.

When and How Often to Calibrate
Environmental Factors That Matter
Understanding when to perform a compass calibration is just as crucial as knowing how. Drone Compass Calibration Basics teaches that calibration is not a one-off task. It should be re-evaluated based on where and how you’re flying. Any time you fly in a new location over 50 kilometres away from your last flight, perform a recalibration to align the compass with the local magnetic field.
Can You Calibrate Your Drone Compass Indoors? What You Need to Know
Environmental factors such as large metal structures, underground wiring, or even mineral-rich terrains like quarries or volcanic landscapes can affect compass readings. Flying near cars, fences, or under power lines, for instance, risks interference, which might persist until recalibration is completed.
Moreover, if your drone has had any physical impacts or crashes—even minor ones—it’s advisable to recalibrate. Firmware updates that affect flight dynamics may also necessitate a fresh calibration. In short, the more changes your drone undergoes in terms of location or condition, the more critically you should assess its compass alignment.
“If your drone starts acting strange, recalibrating the compass often fixes everything—start with that.” – Anonymous Drone Enthusiast
Preparing Your Drone for Compass Calibration
Preparation is key for successful calibration. Ensure your drone is fully powered and your mobile device or controller is properly connected to the drone. Don’t attempt calibration with a low battery, as incomplete processes may cause further misalignment.
Step-by-Step Guide to Recalibrating Your Drone Compass
Choose an open area, far from buildings, vehicles, or other sources of electromagnetic interference. Remove any metal objects from your person, including watches, rings or belt buckles, as these can affect the magnetometer’s accuracy during calibration.
Also, disable obstacle avoidance temporarily if prompted by your calibration software. Sometimes active sensors may interfere with magnetic readings. Finally, confirm that your drone’s firmware is current and that your flight app is functioning correctly.
Step-by-Step Compass Calibration Walkthrough
Drone Compass Calibration Basics involve rotating your drone in specified directions to align its compass with the Earth’s magnetic field. Here’s a typical process used on most modern drones:
Drone Calibration Tips: How Beginners Can Easily Calibrate Their Drones
- Power on your drone, controller, and app.
- Navigate to your drone’s settings menu and find the “Compass” or “IMU Calibration” options.
- Tap “Calibrate Compass” and follow the onscreen prompts.
- Hold the drone level and horizontally, then slowly rotate 360 degrees. You may see blinking lights indicating progress. Green or yellow confirms completion of this stage.
- Next, point the nose of the drone downwards and again spin it 360 degrees until you receive another confirmation.
Some apps may instruct additional orientations, particularly if the drone has multiple onboard compasses or complex gyroscopic systems. Always watch your screen—you’ll receive success or failure messages shortly after completing rotation.
Repeat the process if prompted, and never shortcut any stage. Inconsistencies can cause spatial disorientation, especially during GPS-enabled flight modes.
Understanding On-Screen Prompts (DJI & Others)
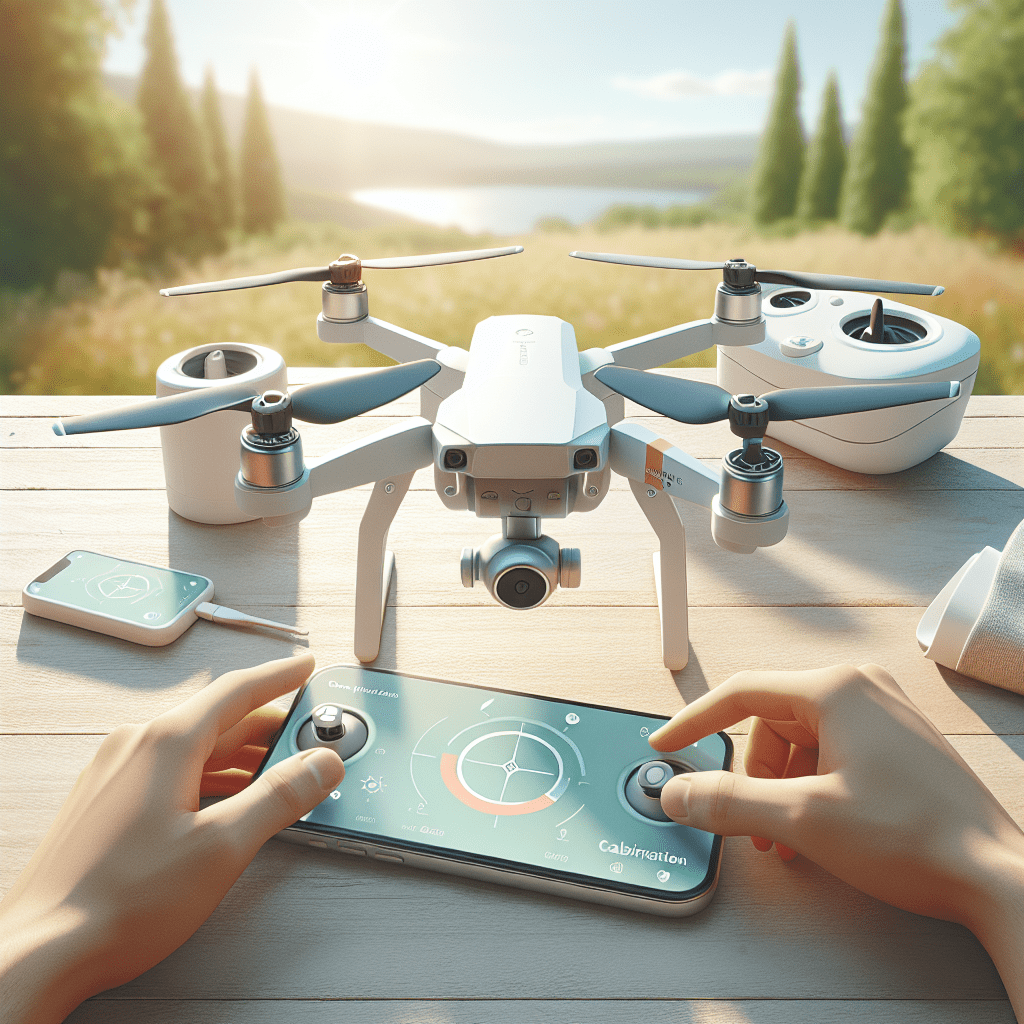
Different drone manufacturers present their calibration instructions slightly differently, though the underlying principles remain the same. For instance, DJI’s intelligent flight apps feature intuitive graphic walkthroughs. You’ll often see animations instructing how to hold and rotate your drone, along with status cues indicated by LED lights on the body of the aircraft.
Pay close attention to feedback messages. If you receive a “Compass Interference” alert post-calibration, re-attempt the process in a cleaner environment. Manufacturers like Autel, Skydio, and Parrot follow similar conventions but may refer to the compass as a “magnetometer” or “internal heading sensor”.
Most importantly, never ignore warning icons regarding compass calibration. They exist not to annoy but to protect the integrity of your flight path. Consult your manual or app environment to clarify icons and confirm status completion before take-off.
Best Environments for Accurate Calibration
Drone Compass Calibration Basics demand a clean and magnetically stable environment. This typically means large open fields, preferably away from dense urban areas. Airports or carparks are poor locations due to underground construction and metal objects scattered throughout the area.
Parks, meadows, unfertilised athletic fields, or deserted beaches make ideal spots. Ensure you’re at least 10–15 metres from any large object that could disturb the Earth’s magnetic field. Watch out for nearby pylons, railway tracks, or even electronics-laden backpacks, which can introduce misreadings.
Additionally, avoid standing on reinforced concrete or near metallic roofing. Calibration accuracy is enhanced not just by distance from interference, but by being on ground level as opposed to elevated metallic surfaces like bridges or scaffolded rooftops.
Indoor vs Outdoor Calibration: Pros and Cons
Doing compass calibration indoors is generally discouraged. Even in an open warehouse or spacious room, hidden infrastructure can affect readings. Metal beams, electrical wiring, Wi-Fi routers, and other electromagnetic sources contribute to erroneous sensor values.
That said, indoor calibration may be necessary during inclement weather. In such cases, ensure the space is verified as magnetically safe using a handheld compass app. Watch whether true north wavers when you move 10 metres—if it does, find another location.
Outdoor calibration provides more consistent results. However, you should avoid calibration during solar storms, which cause magnetic fluctuations, or when operating near lightning clouds. Calibrate during calm weather and avoid doing so on high surfaces where wind could destabilise your positioning.
Post-Calibration Checks for Safe Flight
Once you’ve completed calibration, it is wise to run a series of system and flight checks. Confirm that the “compass” status in your flight app shows green or “ready to fly.” Next, move your drone gently from left to right and observe whether the heading in the app’s mini-map matches the movements.
A visual pre-flight inspection should follow. Ensure the gimbal aligns correctly, motors respond to stick input, and there is no visible distortion in the horizon inclination. Take off cautiously and hover the drone at a few meters’ altitude for about 30 seconds. Watch for stable attitudes and no drift.
If drift or odd movements still occur, land immediately and recalibrate. It’s far better to repeat once or twice than to risk flight anomalies mid-air. Integrate this evaluation step after every calibration to instil a habit of procedural thoroughness.
Common Compass Calibration Errors & Fixes
One frequent mistake is attempting calibration too close to metallic objects. This can result in “Magnetic Field Too Strong” errors. Move to an open environment and remove nearby electronics or jewellery before trying again.
Another is rotating the drone too quickly or at incorrect angles. Drone Compass Calibration Basics emphasise smooth, level movements. Never perform spins on an incline or while holding the drone vertically when prompted to spin horizontally. Doing so disrupts the alignment calculation.
Firmware discrepancies may also prevent completion of the compass cycle. If errors are persistent despite good method, consider updating or reinstalling your drone’s software and wipe cache data stored on your flight app.
Tips from Experienced Drone Pilots
Veteran drone operators agree that a reliable compass is worth its weight in gold. Many keep a short calibration checklist saved on their phones or laminated card. It includes steps like: turn off wearables, check local weather, ground-check the area, and validate app updates before beginning.
Some even use handheld magnetometers to assess field interference prior to calibration. Several use fixed launch points—calibrated ‘green zones’ —whenever possible for optimal consistency. These areas are pre-validated for minimal geomagnetic anomaly.
Most also recommend installing a compass-only app to better understand how magnetics work in your vicinity. Becoming sensitive to what influences your compass helps you think more like a flight technician and less like a consumer electronics user, elevating your piloting game significantly.
Final Thoughts: Confidence in Every Flight
[CONCLUSION_CONTENT]
Great guide on how-to-calibrate-a-drone-compass-beginners-guide-interactive – Community Feedback
How to calibrate the compass on a drone?
To calibrate your drone’s compass, enter your drone’s app (like DJI Fly), select Safety > Sensors > Compass > Calibration, and follow the on-screen steps. For specific models like DJI FPV and Avata, goggles may be required during calibration.
How to calibrate a drone for beginners?
For beginners: power on your drone, access the calibration section in the flight app or manual, and follow the instructions—usually involving rotating the drone in certain directions to complete calibration.
How do I recalibrate my compass?
You can recalibrate your drone compass via the drone’s settings menu or companion app. Look for ‘Compass Calibration,’ then follow the on-screen guidance to move the drone as instructed.
Can I calibrate my drone indoors?
It’s best to calibrate your drone in a well-lit, clutter-free area. Some drones allow indoor calibration, but avoid nearby metal objects and electronics that may interfere. Follow manufacturer guidelines to ensure accurate calibration.

